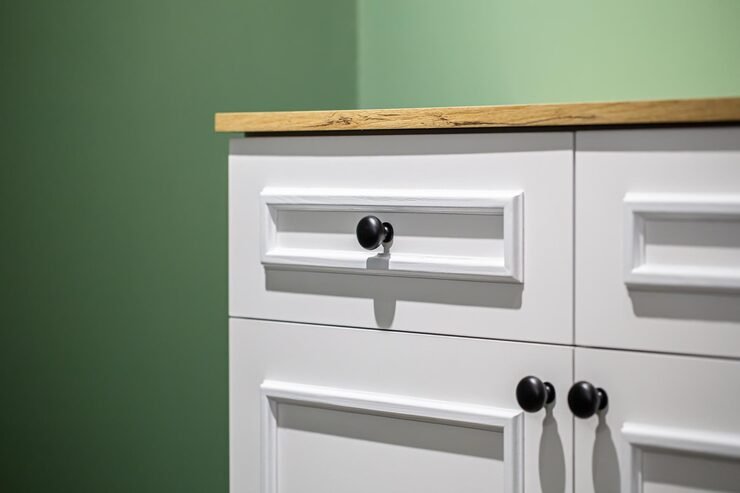
Choosing the right unfinished shaker cabinets can transform the appearance and functionality of a kitchen, bathroom, laundry room, workshop, or other storage space. Are particularly appealing to homeowners and DIY enthusiasts who want control over the final color, stain, paint, and overall appearance of their cabinets. Instead of arriving with a completed decorative finish, these cabinets provide a clean surface that can be customized to match a specific interior design. Their simple Shaker-inspired construction also works with traditional, farmhouse, transitional, and modern spaces.
What Are Unfinished Shaker Cabinets?
Unfinished cabinets are cabinet components supplied without a final paint, stain, or protective decorative coating. The wood or wood-based surface is prepared for the homeowner, contractor, or cabinet professional to finish.
The Shaker style is known for its simple construction, clean lines, and recessed-panel appearance. Shaker doors generally avoid excessive ornamentation, making them versatile enough to work with many interior styles.
Combining an unfinished surface with a simple Shaker design gives homeowners considerable flexibility. The cabinets can be painted a bold color, finished in a natural wood tone, or treated with a stain that highlights the grain.
This makes them especially useful for renovation projects where standard prefinished cabinetry does not provide the desired color or appearance.
Why Choose Unfinished Shaker-Style Cabinetry?
One of the biggest advantages is customization. Prefinished cabinets limit the homeowner to the colors, stains, and finishes offered by the manufacturer. Unfinished cabinetry gives you the opportunity to select the final appearance yourself.
Other potential benefits include:
- Greater control over color
- Ability to match existing woodwork
- Flexible stain and paint options
- Simple, versatile door design
- Suitable for DIY projects
- Useful for custom renovation projects
- Opportunity to coordinate cabinets with flooring and furniture
- Can work with multiple interior design styles
However, customization also creates additional work. Unfinished cabinets need proper preparation and finishing before they are exposed to normal household use.
Understanding the Shaker Cabinet Style
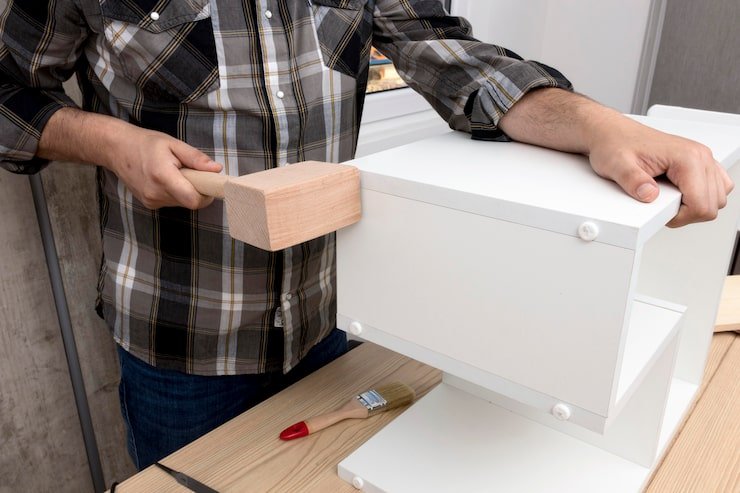
Shaker cabinetry is recognized for its straightforward appearance. The typical door features a flat center panel surrounded by a simple frame.
This design avoids elaborate carvings and decorative details, which is one reason it remains popular across different design trends.
Traditional Shaker Appearance
A natural wood stain can emphasize the simplicity of the design and highlight the grain. Warm brown, medium oak, and darker wood tones can create a traditional appearance.
Modern Shaker Appearance
Painting the doors in white, gray, black, green, blue, or another contemporary color can give the same basic cabinet design a modern look.
Farmhouse Shaker Appearance
Light-colored paint combined with natural wood accents can create a comfortable farmhouse-inspired kitchen.
Transitional Shaker Appearance
Neutral colors, simple hardware, and natural or lightly stained wood can bridge traditional and contemporary styles.
What Materials Are Used?
Unfinished cabinets are not necessarily made entirely from one type of material. The door, frame, cabinet box, shelves, and drawer components can use different materials.
Common options include:
- Solid hardwood
- Plywood
- Medium-density fiberboard
- Wood veneer
- Engineered wood
- Hardwood frames
The material affects how the cabinet should be prepared and finished.
For example, natural wood responds differently to stain than a manufactured panel. Similarly, MDF can provide a very smooth surface for paint but does not have the same natural grain characteristics as solid wood.
Before purchasing, check the manufacturer’s specifications to determine exactly what material is used for each cabinet component.
Common Wood Choices
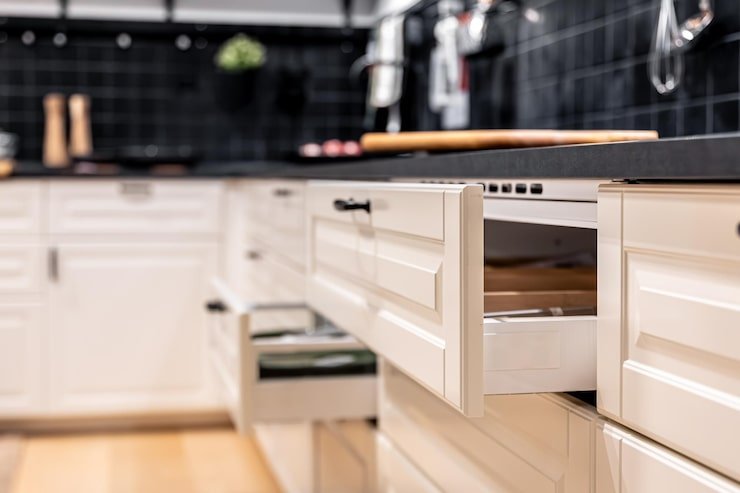
Different wood species produce different results when finished.
| Wood Type | Appearance | Suitable Finish | Design Character |
|---|---|---|---|
| Maple | Light and relatively uniform | Paint or stain | Clean and versatile |
| Oak | Strong visible grain | Stain or paint | Traditional and natural |
| Birch | Light and subtle | Paint or stain | Simple and affordable |
| Cherry | Warm reddish tones | Clear coat or stain | Classic and elegant |
| Alder | Warm with natural variation | Stain or paint | Rustic and relaxed |
| Poplar | Pale and relatively soft | Paint | Practical for painted cabinets |
The final appearance also depends on sanding, primer, stain, paint, and protective coating.
Painting Unfinished Shaker Cabinets
Painting is one of the most popular ways to customize unfinished cabinetry.
The process requires patience because a good painted finish depends heavily on preparation.
Step 1: Inspect the Cabinets
Examine doors, frames, drawer fronts, and panels for dents, scratches, holes, or imperfections.
Repair noticeable defects before beginning the finishing process.
Step 2: Sand the Surfaces
Light sanding helps create a suitable surface for primer and paint. The exact sanding process depends on the material and its existing condition.
Avoid excessive sanding that could damage veneer or create uneven areas.
Step 3: Clean Away Dust
After sanding, remove dust and residue thoroughly. Remaining dust can create texture and imperfections in the finished coating.
Step 4: Apply Primer
A suitable primer helps prepare the surface for paint and can improve adhesion and coverage.
The primer should be compatible with both the cabinet material and the chosen paint.
Step 5: Apply Paint
Apply thin, even coats rather than attempting to achieve complete coverage in one heavy coat.
Allow adequate drying time between coats according to the product instructions.
Step 6: Apply a Protective Finish if Appropriate
Depending on the paint and expected use, an appropriate protective coating may provide additional durability.
Always test the complete finishing system on a sample before applying it to all cabinet components.
Staining Unfinished Cabinets

Staining is a good choice when you want the natural character of wood to remain visible.
Unlike paint, stain does not simply cover the surface. It changes or enhances the color while allowing much of the underlying grain to remain visible.
The process typically involves:
- Preparing and sanding the wood.
- Removing sanding dust.
- Testing the stain on a sample.
- Applying the stain evenly.
- Allowing the stain to penetrate according to the product directions.
- Removing excess stain when required.
- Allowing the surface to dry.
- Applying a compatible protective finish.
Different wood species absorb stain differently, so testing is especially important.
Why Testing Matters
A stain or paint color shown on a sample board may look different once applied to an entire kitchen.
Lighting, surrounding colors, wood grain, and the number of coats can influence the final appearance.
Before finishing all the cabinets, test the selected product on:
- A spare door
- An interior surface
- A sample board made from the same material
- An inconspicuous area
For stained cabinets, testing is particularly important because the same stain can produce different results on different wood species.
Hardware Choices for Shaker Cabinets
Hardware can dramatically change the final appearance.
Simple knobs and pulls complement the clean geometry of Shaker doors. Longer pulls can create a more contemporary appearance, while traditional knobs and cup pulls can produce a farmhouse or classic look.
Popular hardware finishes include:
- Brushed nickel
- Matte black
- Brass
- Chrome
- Oil-rubbed bronze
- Stainless steel
The hardware should coordinate with other visible elements such as faucets, lighting, appliances, and cabinet accessories.
Where Can They Be Used?
Although kitchen cabinetry is the most common application, unfinished Shaker-style cabinets can be used throughout the home.
Kitchen
They can be used for base cabinets, wall cabinets, pantry storage, islands, and specialty storage.
Bathroom
Their clean design works well with both modern and traditional bathroom layouts.
Laundry Room
Cabinetry can provide useful storage for cleaning supplies, linens, laundry products, and household equipment.
Mudroom
Shaker doors can create an organized appearance while providing storage for shoes, coats, bags, and other household items.
Home Office
Cabinets can be used to organize books, files, office supplies, and equipment.
Workshop
Unfinished cabinets can provide practical storage where appearance may be customized according to the surrounding space.
Advantages and Disadvantages
Before buying, it is useful to consider both sides.
| Advantages | Potential Disadvantages |
|---|---|
| Highly customizable | Requires finishing work |
| Flexible paint options | Additional labor |
| Flexible stain options | Drying time |
| Versatile Shaker design | Mistakes may require refinishing |
| Suitable for DIY projects | Quality depends on preparation |
| Can coordinate with existing décor | Protective coating may be required |
| Natural wood can highlight grain | Material quality varies |
The right choice depends on whether you value customization enough to take on the additional finishing work.
DIY or Professional Finishing?
The decision depends on your experience, available time, tools, and desired quality.
A homeowner with painting or woodworking experience may be comfortable preparing and finishing the cabinets independently.
Professional finishing may be preferable when:
- There are many cabinets.
- A factory-like finish is desired.
- The project involves expensive materials.
- The selected finish requires specialized equipment.
- The homeowner has limited time.
- Consistency is particularly important.
Painting cabinet doors can require significant preparation, especially when there are many individual components.
How to Estimate the Total Cost
The purchase price of unfinished cabinets is only part of the overall project cost.
Consider:
- Cabinet purchase price
- Shipping or delivery
- Primer
- Paint or stain
- Protective finish
- Sandpaper
- Brushes or rollers
- Spraying equipment if used
- Hardware
- Installation
- Professional finishing
- Repairs or replacement parts
A lower cabinet price does not necessarily mean a lower completed project cost.
Create a complete budget before ordering the cabinetry.
Installation Considerations
Proper installation is essential for a professional appearance.
Cabinet boxes should be installed level and securely attached to appropriate structural points. Doors and drawer fronts should be adjusted so gaps appear consistent.
Important installation considerations include:
- Measuring the room accurately
- Locating wall studs
- Checking floor level
- Planning appliance clearances
- Confirming cabinet dimensions
- Allowing appropriate door and drawer clearance
- Installing hardware consistently
- Protecting finished surfaces during installation
If the cabinets are finished before installation, extra care is needed to avoid scratches or damage during handling.
Maintenance and Care
Once finished and installed, cabinetry should be cleaned according to the requirements of its particular finish.
For most finished wood cabinets, gentle cleaning is preferable to aggressive chemicals or abrasive materials.
Avoid allowing water to sit around cabinet edges, doors, sinks, and other areas exposed to moisture.
Regular maintenance can include:
- Wiping spills promptly
- Cleaning handles and frequently touched areas
- Using a soft cloth for routine dusting
- Avoiding abrasive cleaners
- Checking hinges and hardware
- Addressing damaged finish promptly
- Keeping excessive moisture away from cabinet surfaces
Always follow the finish manufacturer’s cleaning recommendations.
Common Mistakes to Avoid
Skipping Surface Preparation
Poor preparation can lead to uneven paint, poor adhesion, visible imperfections, and premature wear.
Applying Heavy Coats
Thick coats of paint or finish can create drips, uneven surfaces, and extended drying times.
Not Testing the Finish
A color that looks attractive on a screen may look completely different on the actual cabinet material.
Forgetting the Cabinet Interiors
If visible interior areas are unfinished, decide in advance whether they will receive the same treatment as the exterior.
Rushing the Drying Process
Cabinet doors and drawers may need considerable drying and curing time before installation or heavy use.
Using Incompatible Products
Primer, paint, stain, and protective finishes should be compatible with one another and with the cabinet material.
How to Create a Cohesive Kitchen Design
The cabinets should work with the rest of the room rather than being selected in isolation.
Consider the relationship between:
- Countertops
- Flooring
- Backsplash
- Wall color
- Appliances
- Lighting
- Faucets
- Cabinet hardware
- Furniture
- Natural light
For example, natural wood cabinets can pair effectively with neutral countertops and simple backsplashes. Painted Shaker cabinets can provide a strong foundation for colorful tile or contrasting hardware.
Key Points to Remember
- Unfinished cabinetry provides greater control over the final appearance.
- Shaker doors have a simple design that works across many decorating styles.
- Cabinet materials can include solid wood, plywood, veneer, MDF, and engineered products.
- Paint and stain require different preparation and finishing approaches.
- Always test a finish before applying it to the complete cabinet set.
- The total project cost includes finishing materials and installation, not just cabinet prices.
- Hardware can significantly change the final style.
- Proper installation is essential for consistent door and drawer alignment.
- Gentle cleaning and moisture control can help preserve finished cabinetry.
- Professional finishing may be worthwhile for large or high-end projects.
Final Thoughts
Unfinished Shaker cabinetry offers an appealing combination of flexibility and timeless design. Its straightforward door profile provides a versatile foundation, while the unfinished surface allows homeowners and contractors to determine the final color, stain, and protective finish.
The most important step is to plan the entire project before beginning. Choose the cabinet material, decide whether you want paint or stain, test your chosen finish, calculate the complete project cost, and determine whether the finishing work will be completed professionally or as a DIY project.
When properly prepared, finished, installed, and maintained, these cabinets can become a practical and attractive part of a kitchen or other living space. Their simple design also makes it easier to update the room in the future without replacing the entire cabinet system.
Frequently Asked Questions
1. Can unfinished cabinets be painted?
Yes. Unfinished cabinets can generally be painted after proper preparation. Cleaning, sanding, priming, and applying compatible paint in appropriate coats are important for achieving a durable finish.
2. Can unfinished cabinets be stained?
Yes, provided the cabinet material is suitable for staining. Natural wood species can produce different results, so testing the selected stain on a sample before completing the project is recommended.
3. Are unfinished cabinets cheaper than finished cabinets?
They can have a lower initial purchase price because the final finishing work has not been completed. However, the total project cost also includes primer, paint or stain, protective coating, labor, tools, and installation.
4. Are Shaker cabinets suitable for modern kitchens?
Yes. Their simple recessed-panel design works well in modern, transitional, farmhouse, and traditional kitchens. The final appearance can be changed substantially through color, hardware, countertops, and other design elements.
5. How should finished wood cabinets be maintained?
Use gentle cleaning methods appropriate for the specific finish, wipe spills promptly, avoid abrasive products, and prevent excessive moisture from remaining on cabinet surfaces. Following the finish manufacturer’s care instructions is the safest approach.
| Read more: Oak Bar and Stools: |